


Blog
Five Vorons Later: What We Upgraded, and Why We Moved On
Five Vorons Later: What We Upgraded, and Why We Moved On
For a while, the print room at Tundra ran on Vorons. Five of them, all 300 mm, all started from LDO kits, and every one of them had a name: Triumph, Moose, Ivy, Nova and Decker.
This is the story of what we changed on them, what broke, and why the day-to-day printing here is now done by Bambus. It's also a bit of a thank-you to the people who helped along the way.
Why Vorons?
We needed to print parts for the Skyward 200 telescope, and those parts are big. Back then, Bambu's H2D and H2S didn't exist, and there wasn't much off the shelf that could do 300 mm in ABS reliably. So we built our own.
Triumph came first, a Voron 1.8. I loved that printer. When it was time to scale up, the 1.8 was out of stock everywhere, so Moose arrived as a Voron 2.4, and then Ivy, Nova and Decker followed as 2.4s too.
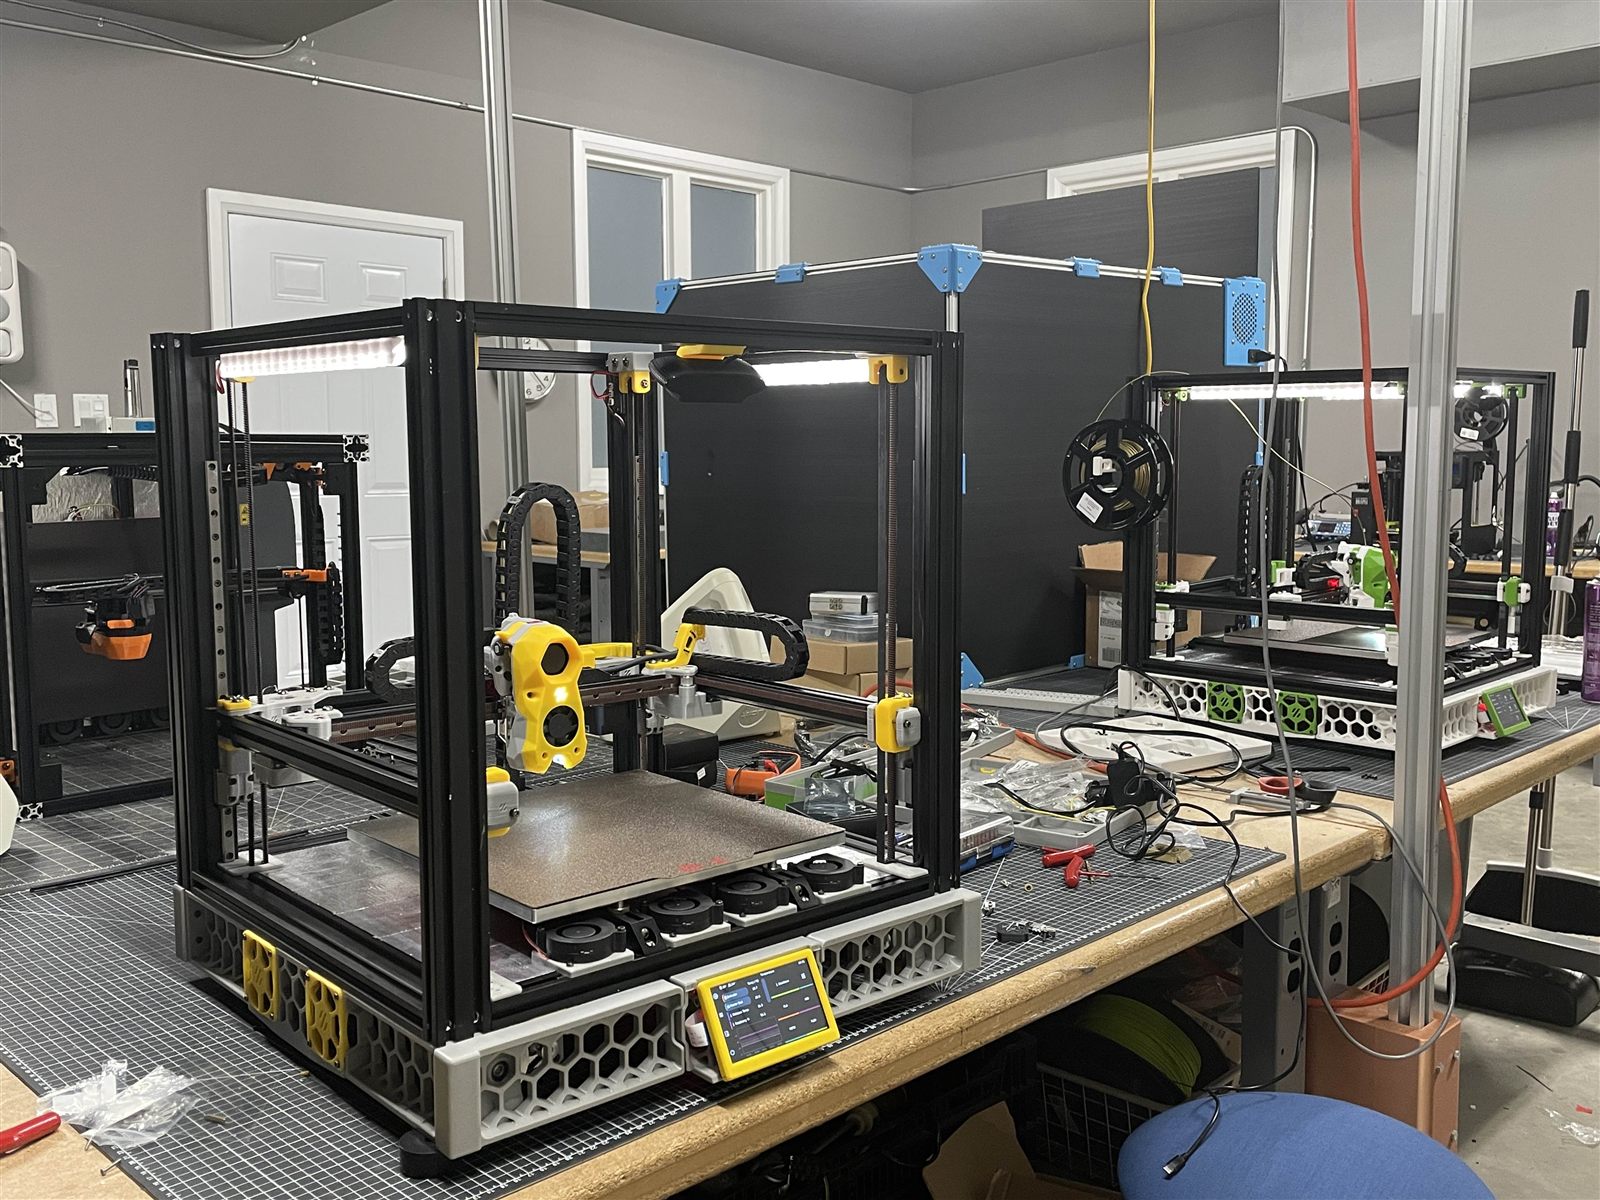
Turning Up the Heat
ABS and ASA like a warm room. We wanted 60 °C or more inside the enclosure, which is a lot more than a stock Voron is built for. So we went a bit doom-cube on them:
- 4040 extrusions with double window panes. We didn't go to 4040 for stiffness. The two channels on each side meant we could fit two panes instead of one, and hold a lot more heat in.
- Reflective surfaces inside to keep it there.
- Modified skirts and panels to suit the hot chamber.
- A custom skirt around the bed with bed fans built in. They heat the air and keep it moving gently and evenly, so there are no hot and cold spots.
- Revo High Flow hotends to keep up.
Those upgrades worked. The chambers got hot and stayed hot.
One more upgrade worth mentioning: a metal Voron Tap. The magnetic bed sensor that came with the kits didn't give us great first layers, and part of that may have been the frame itself growing as the chamber heated up. Tap uses the nozzle itself as the probe, so there's no sensor offset to drift.
The Wiring Rabbit Hole
The cables to the toolhead flex thousands of times a print, and ours started fatiguing and breaking. The worst part was that the printer usually had no idea anything was wrong. It just kept going and failed mid-print.
So I switched every machine to Nitehawk toolhead boards to fix it. That turned out to be a big mistake. We hit Nitehawk errors constantly. I rewired, retuned and replaced more parts than I can count, and despite a lot of troubleshooting with the community, we never found a fix.
I wasn't alone in that rabbit hole. Frey, a friend of Tundra, spent hours and hours on top of the Box Turtle work helping me chase those Nitehawk errors. He shared every bit of the frustration, and never once told me to give up. (He probably should have.)
Enter the Box Turtles
For multi-colour and multi-material, we added Box Turtles, and this part is all Frey. He built all five, installed them on the Vorons, wired them up and tuned them. He streamed his meticulous builds live on his YouTube channel, Lens of Frey, troubleshooting and all. With that many under his belt, he might just be the most experienced Box Turtle builder on Earth. If you're thinking about a Box Turtle, his streams are the place to start.
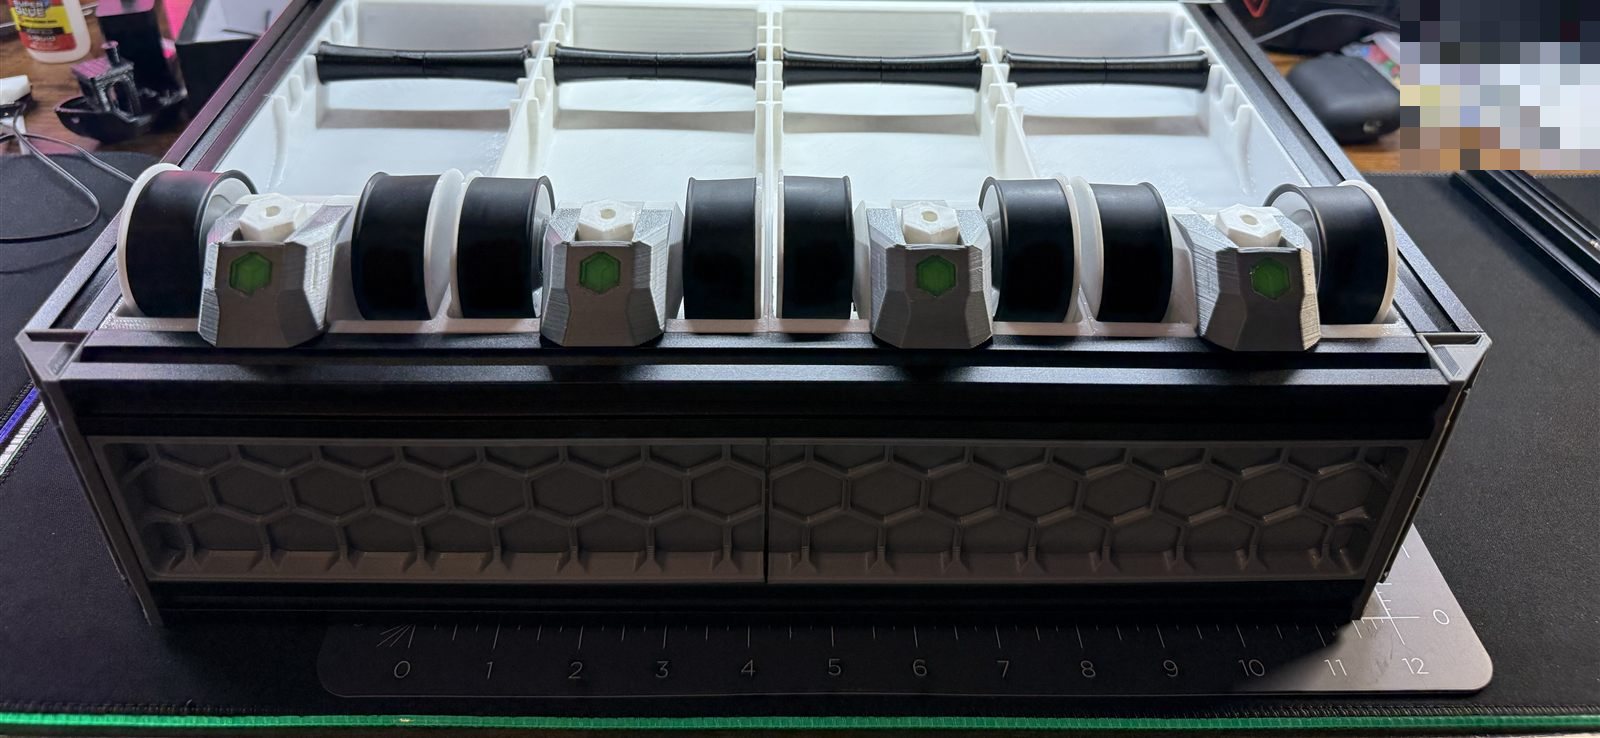
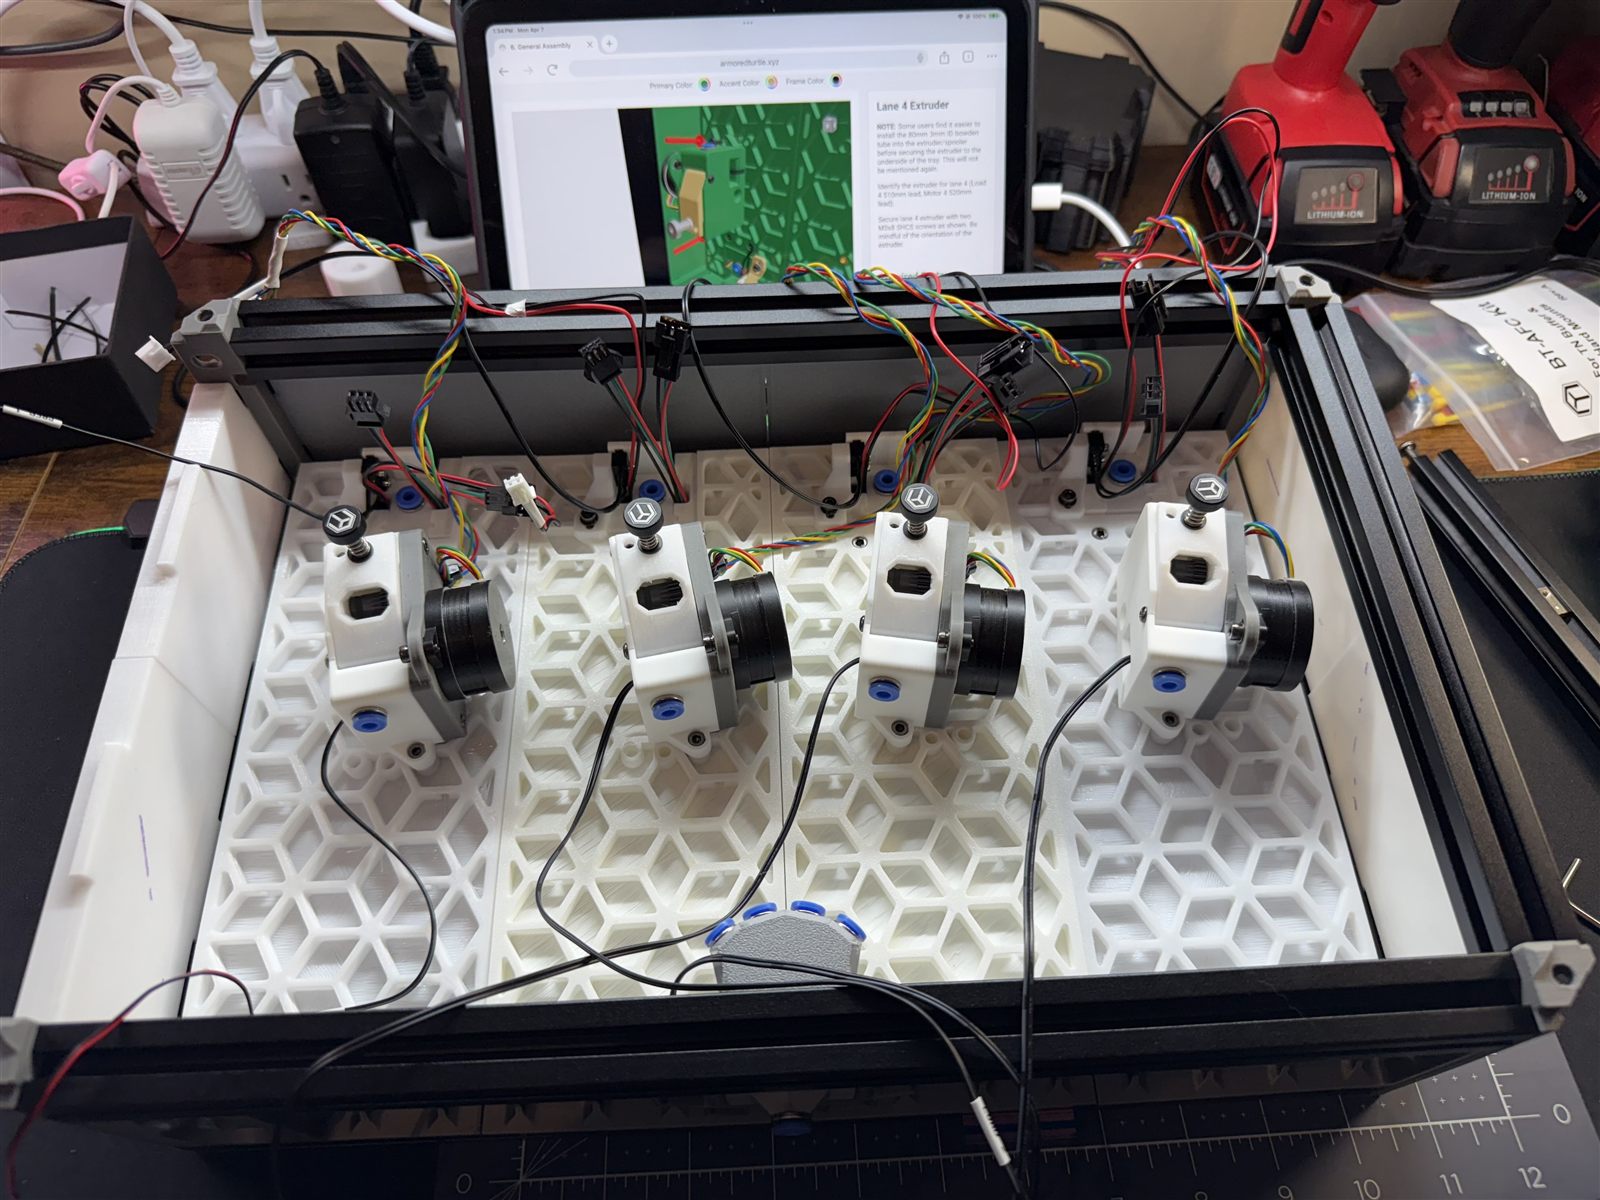
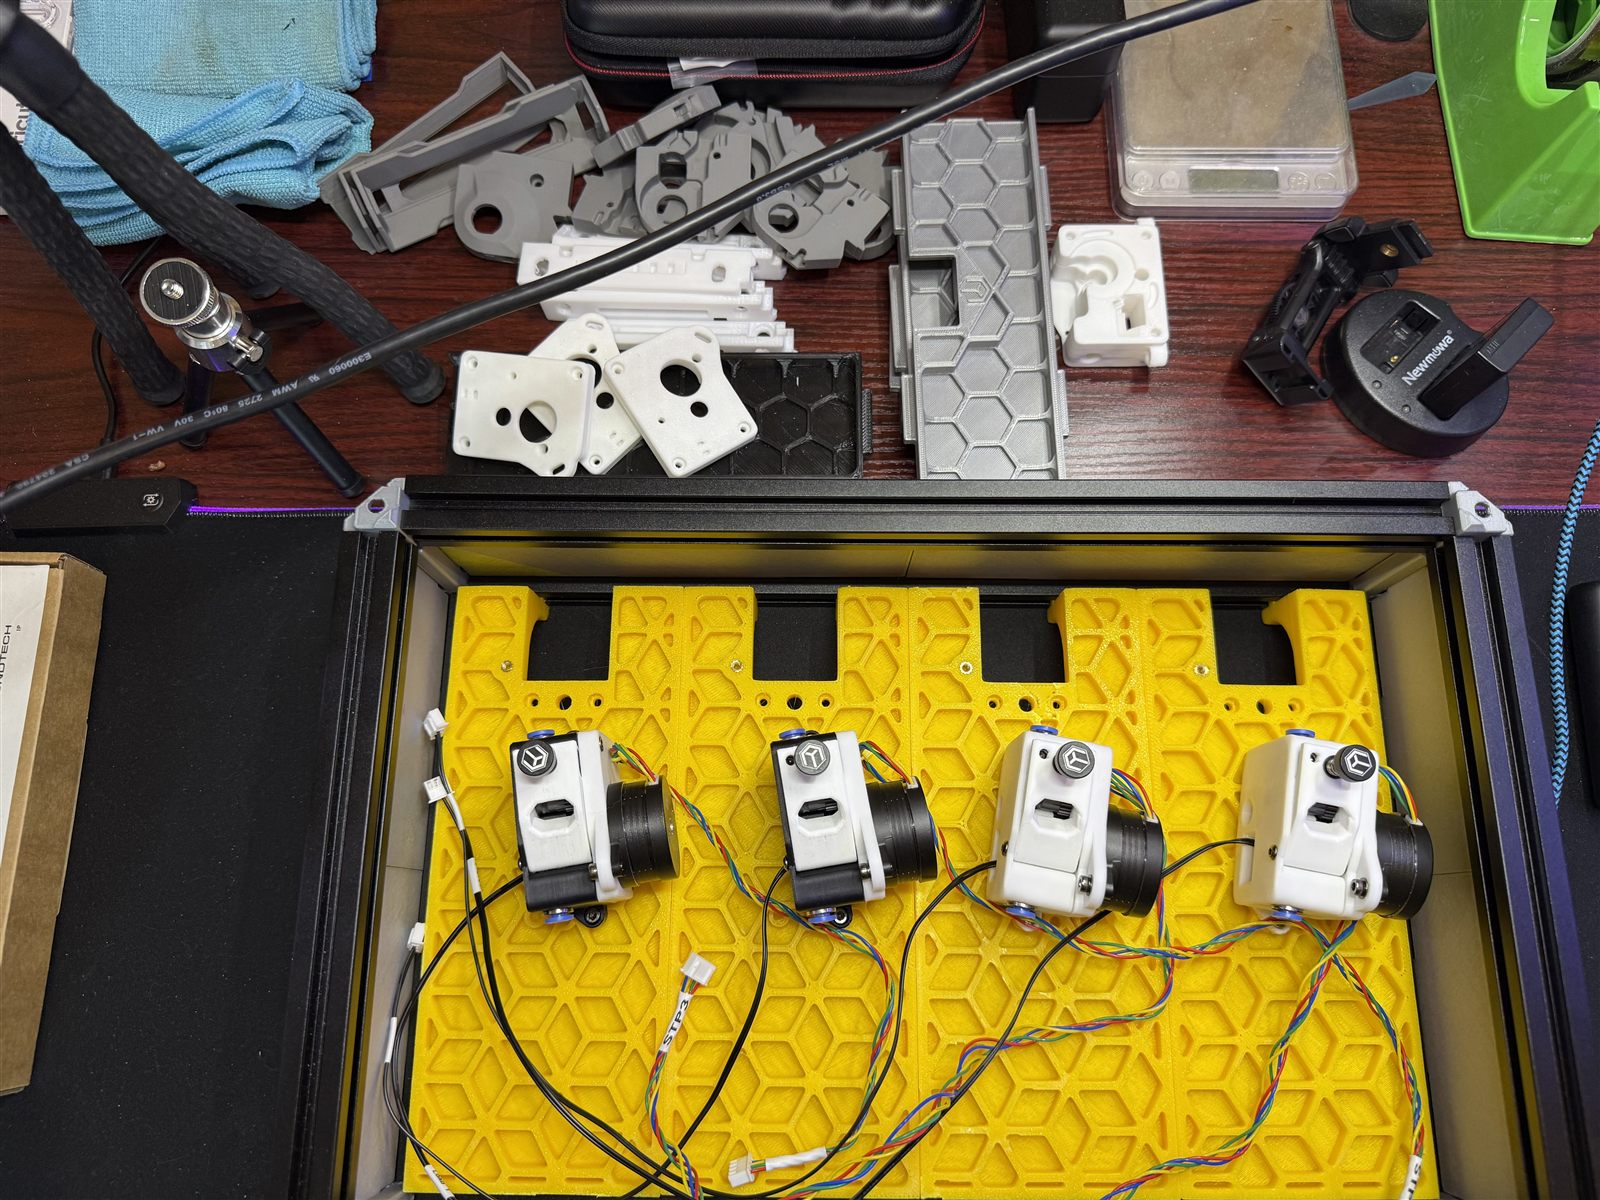
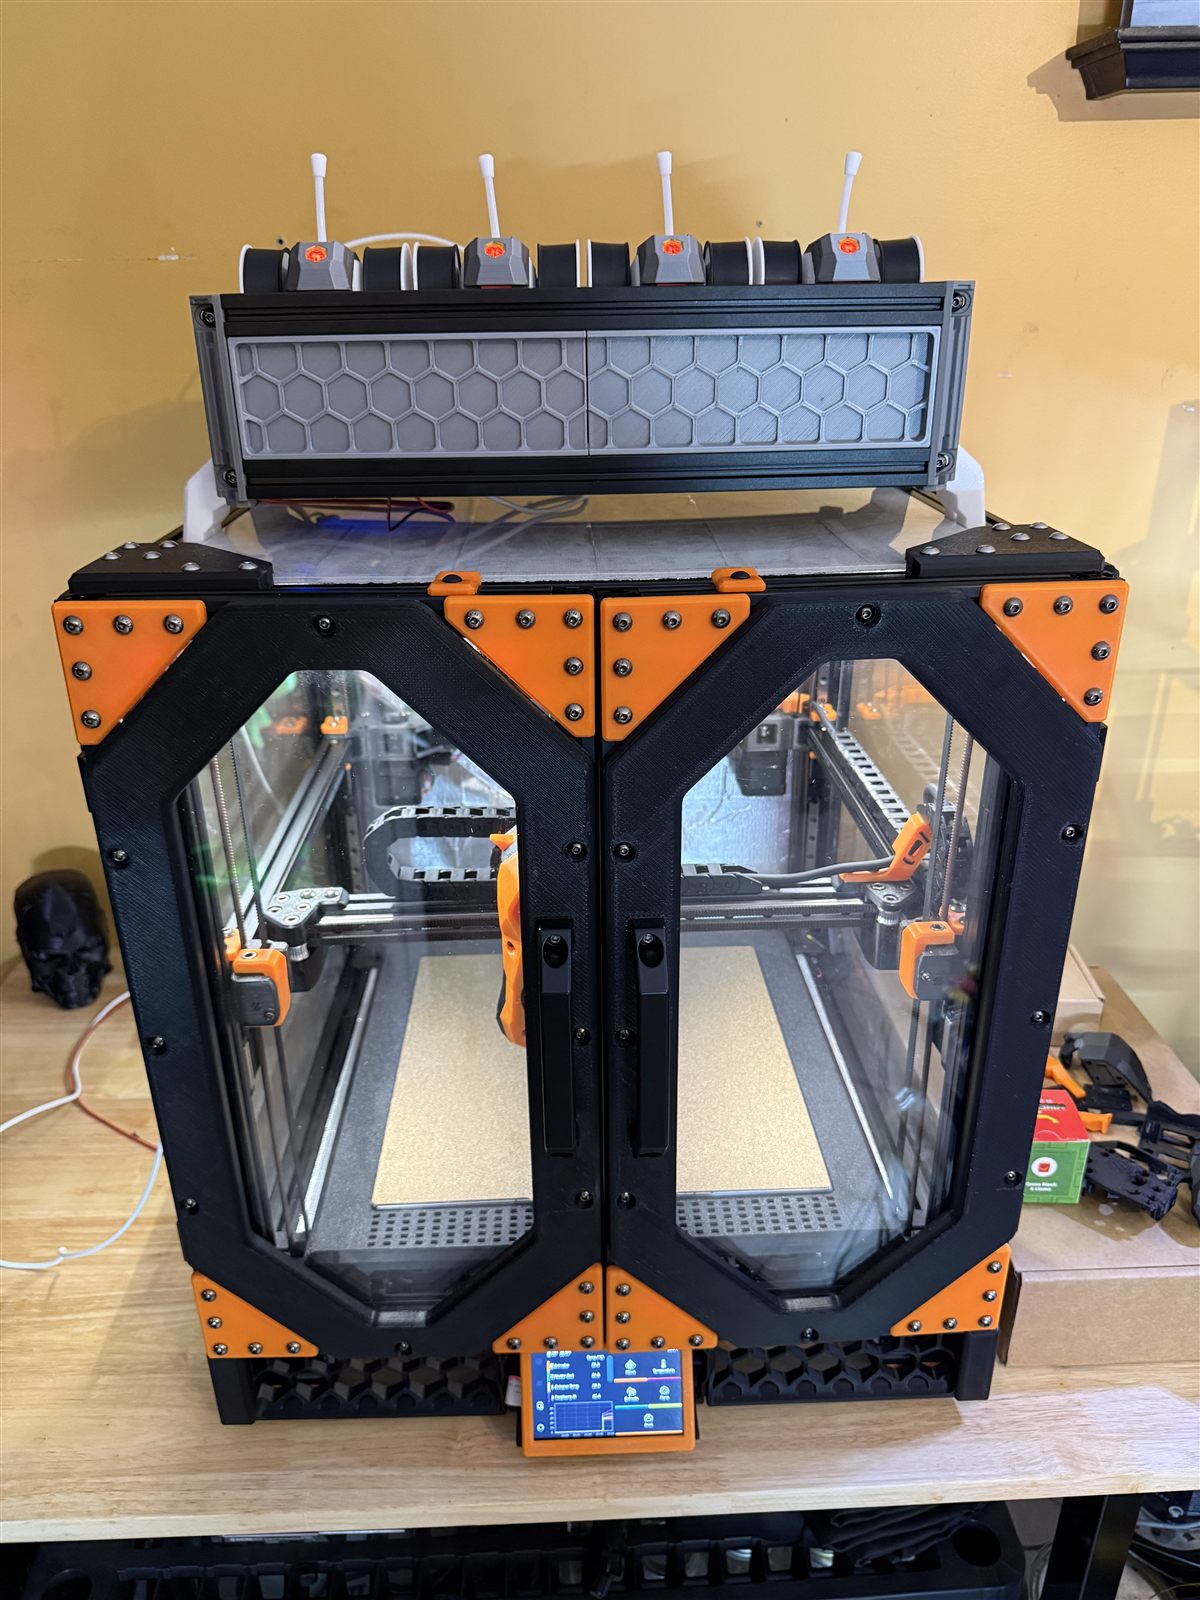
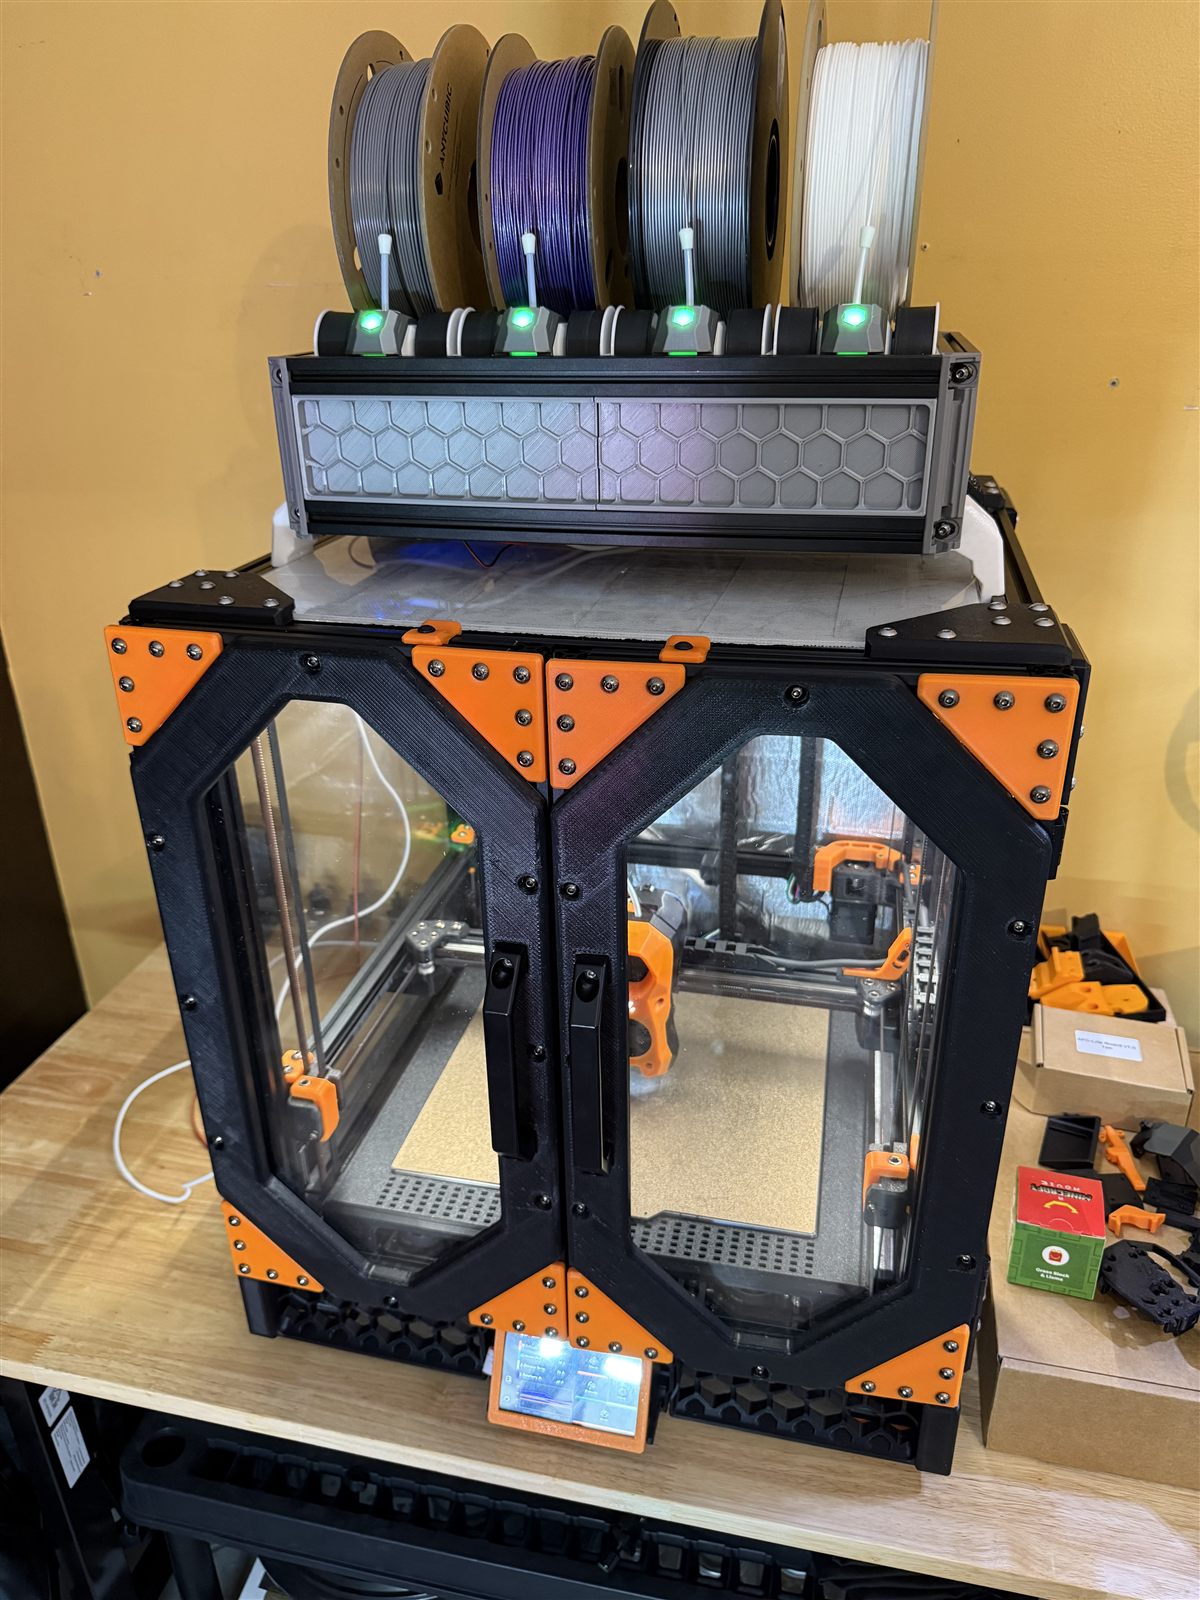
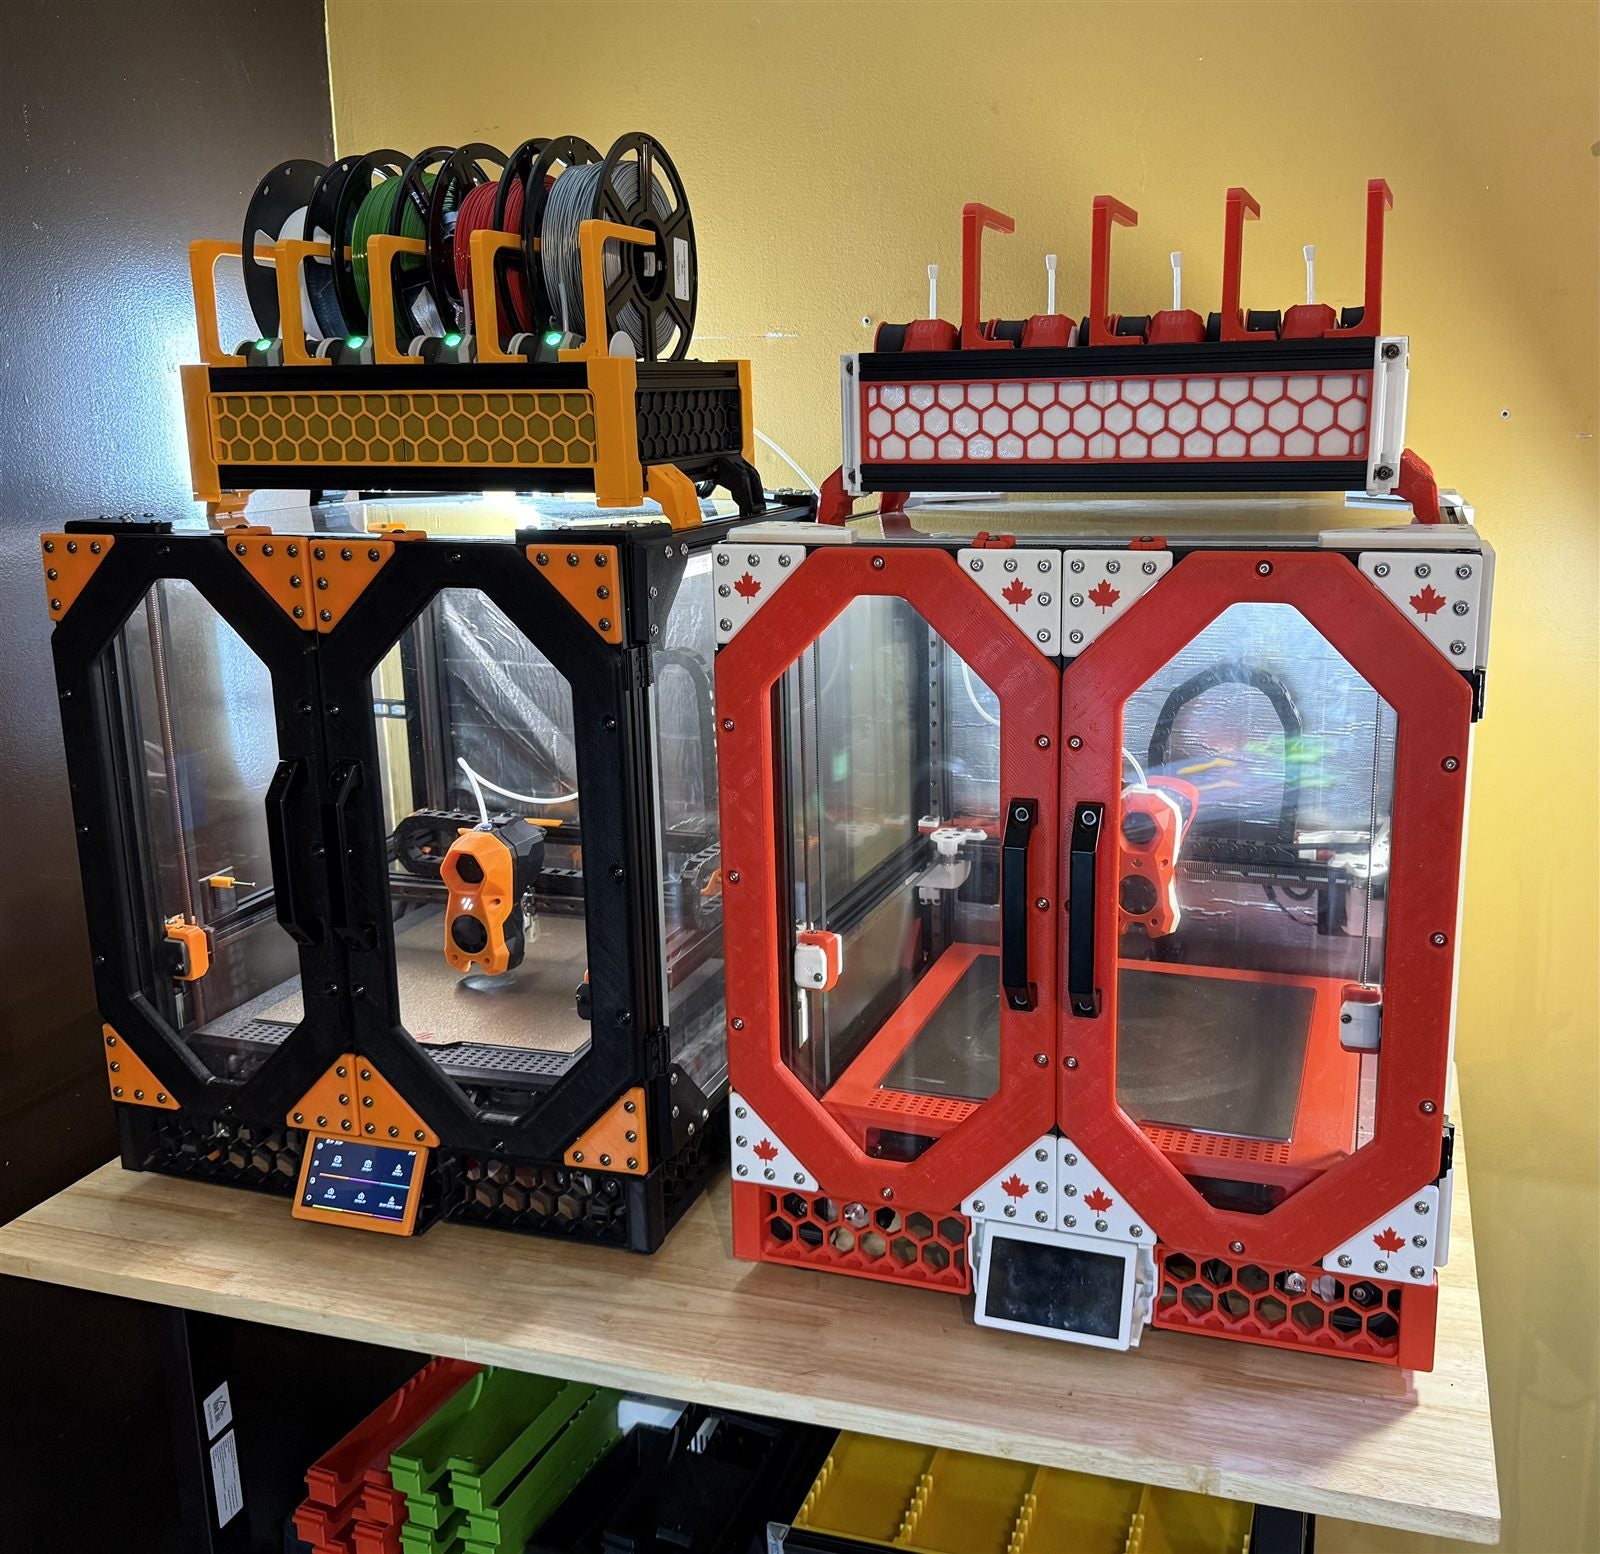
The Box Turtles were OK. They worked a lot of the time. But the design was still young, and "a lot of the time" isn't good enough when people are waiting on parts.
Why We Walked Away
Two tries at a reliable toolhead connection, the original cables and then Nitehawk, both failed us. Add a multi-material system that wasn't quite there yet, and the sums didn't work. Frey and I lost a lot of hours to it.
Production needs 99.9% reliability. So we moved to Bambu: two X1Cs, two H2Ds and four H2Ss. They have been extremely reliable.
Where Are They Now?
Four of the Vorons went to up-and-coming makers, who will have a lot of fun with them. I kept Moose. Moose eventually got a CANbus upgrade and runs well, just not in the production line here.
So, Should You Build a Voron?
If you like tinkering with printers, absolutely. You'll learn more than you ever expected.
If you're building for production, skip the original cabling, and skip Nitehawk.
Five printers. Two tries at the wiring. A lot of lessons. And one Moose that's still with us.
A huge thank-you to Frey for every Box Turtle, every Nitehawk troubleshooting session and every photo in this post. Go check out Lens of Frey on YouTube.
Want big, tough parts without the tinkering? Let's talk about your project. For more on how we build our own machines, see HevOrange.
Voron is the name of the Voron Design open-source project. Tundra 3D isn't affiliated with Voron Design.