


Blog
Caught in the Web: How a Spiderweb Fixed Our Warping Problem
Caught in the Web: How a Spiderweb Fixed Our Warping Problem
Of all the parts in our Skyward telescopes, the rocker box base looks like the easiest. It's a flat slab with a few holes in it. What's the big deal, right?
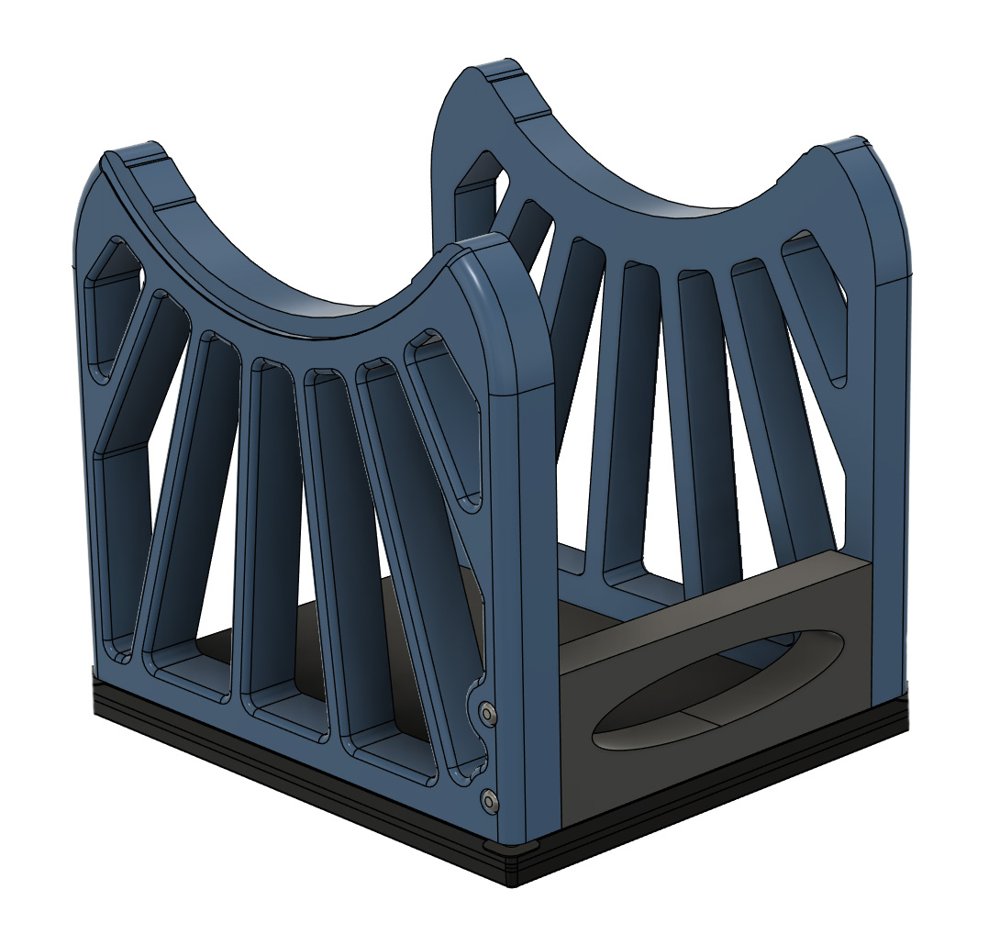
Turns out it's one of the hardest parts we print. Here's how it cost me a stack of glass beds, and how a spiderweb finally fixed it.
Why a Flat Slab Is So Hard
We print the bases in ABS. It's tough and handles heat well, but it shrinks as it cools. Every new layer pulls on the layers below it. On a small part you'd never notice. On a slab more than 250 mm across, all that pulling adds up, and the corners want to curl up off the bed. That's warping.
Stick It Down Harder?
My first answer was adhesion. I tried glue stick. I tried hairspray. I tried ABS slurry. Eventually I got the parts stuck down really, really well.
That's when the glass started cracking.
The warping force didn't go away just because the part couldn't lift. It went into the bed instead. I cracked at least eight glass beds that way. Sometimes the glass even came off still stuck to the part.
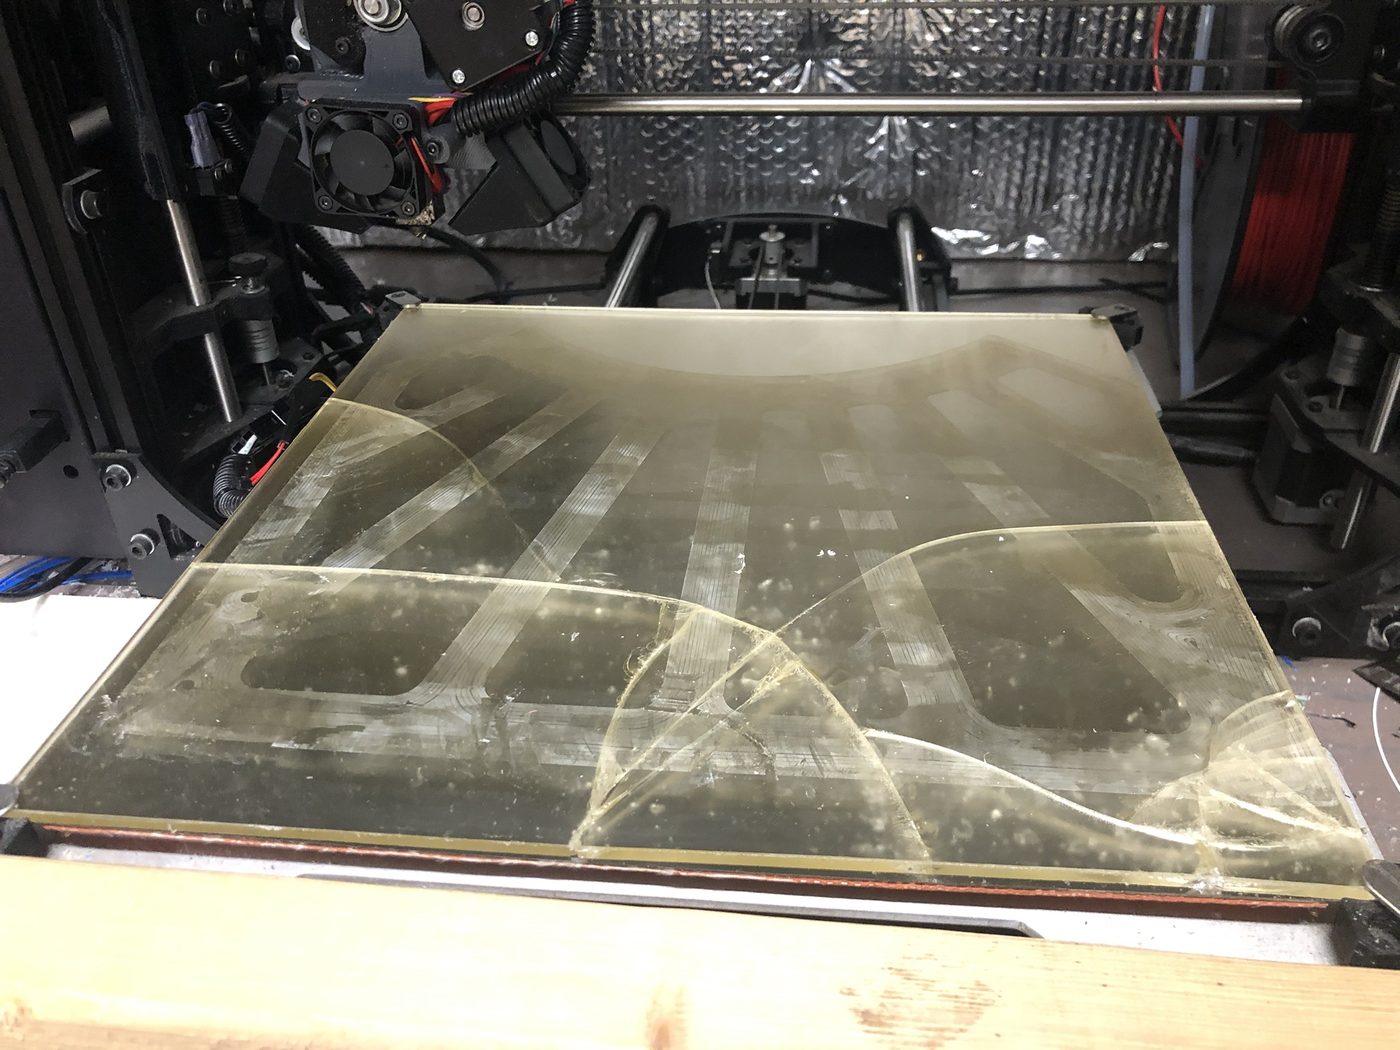
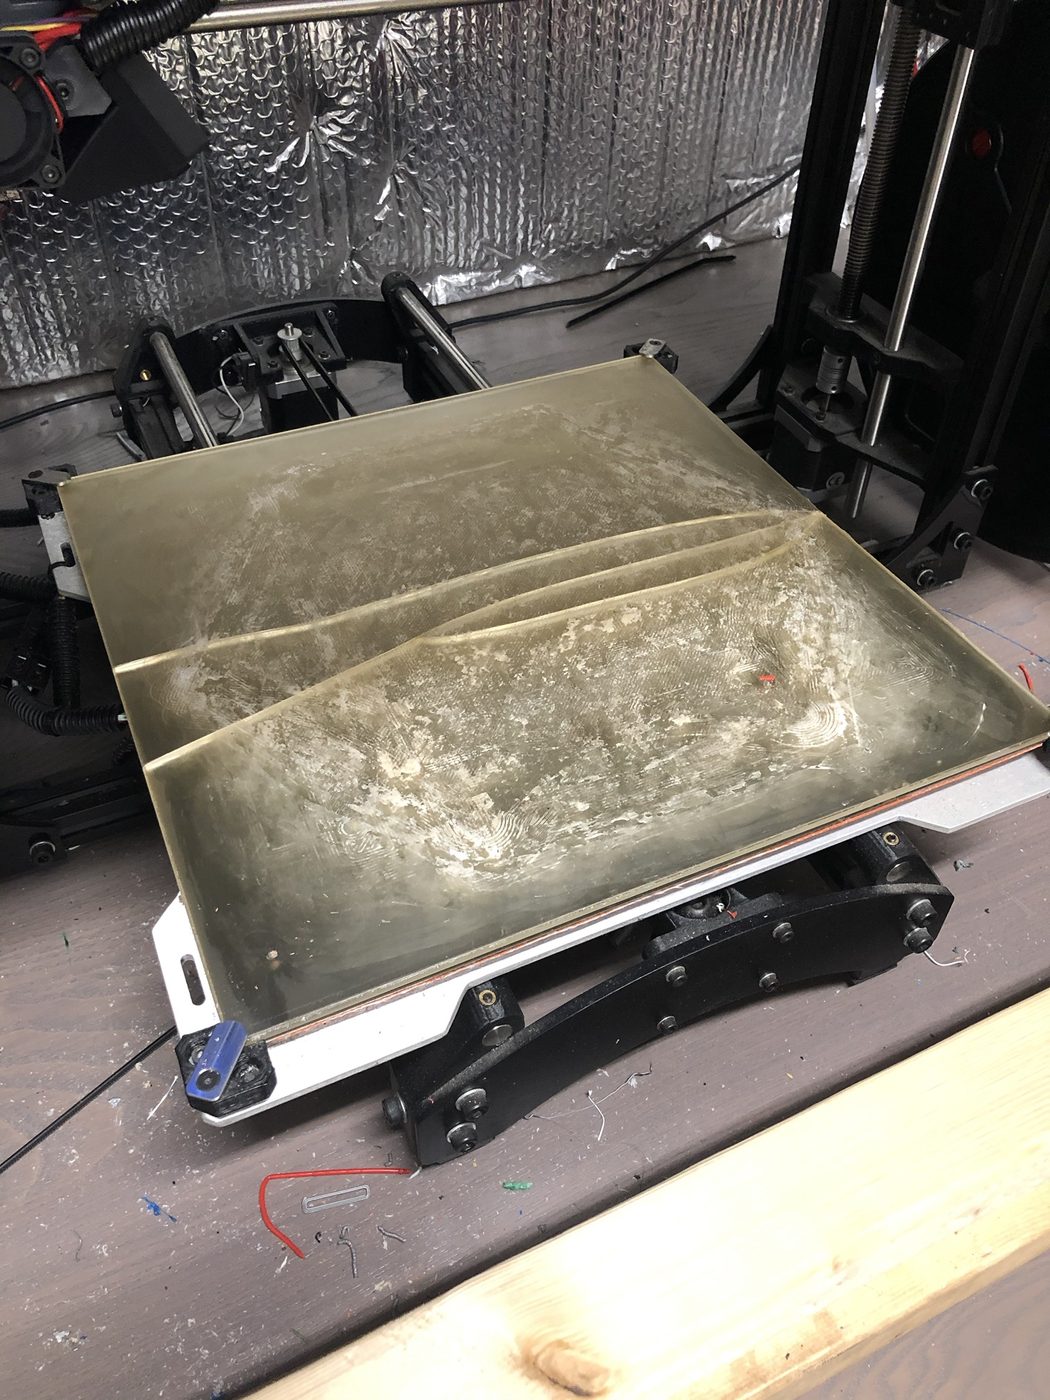
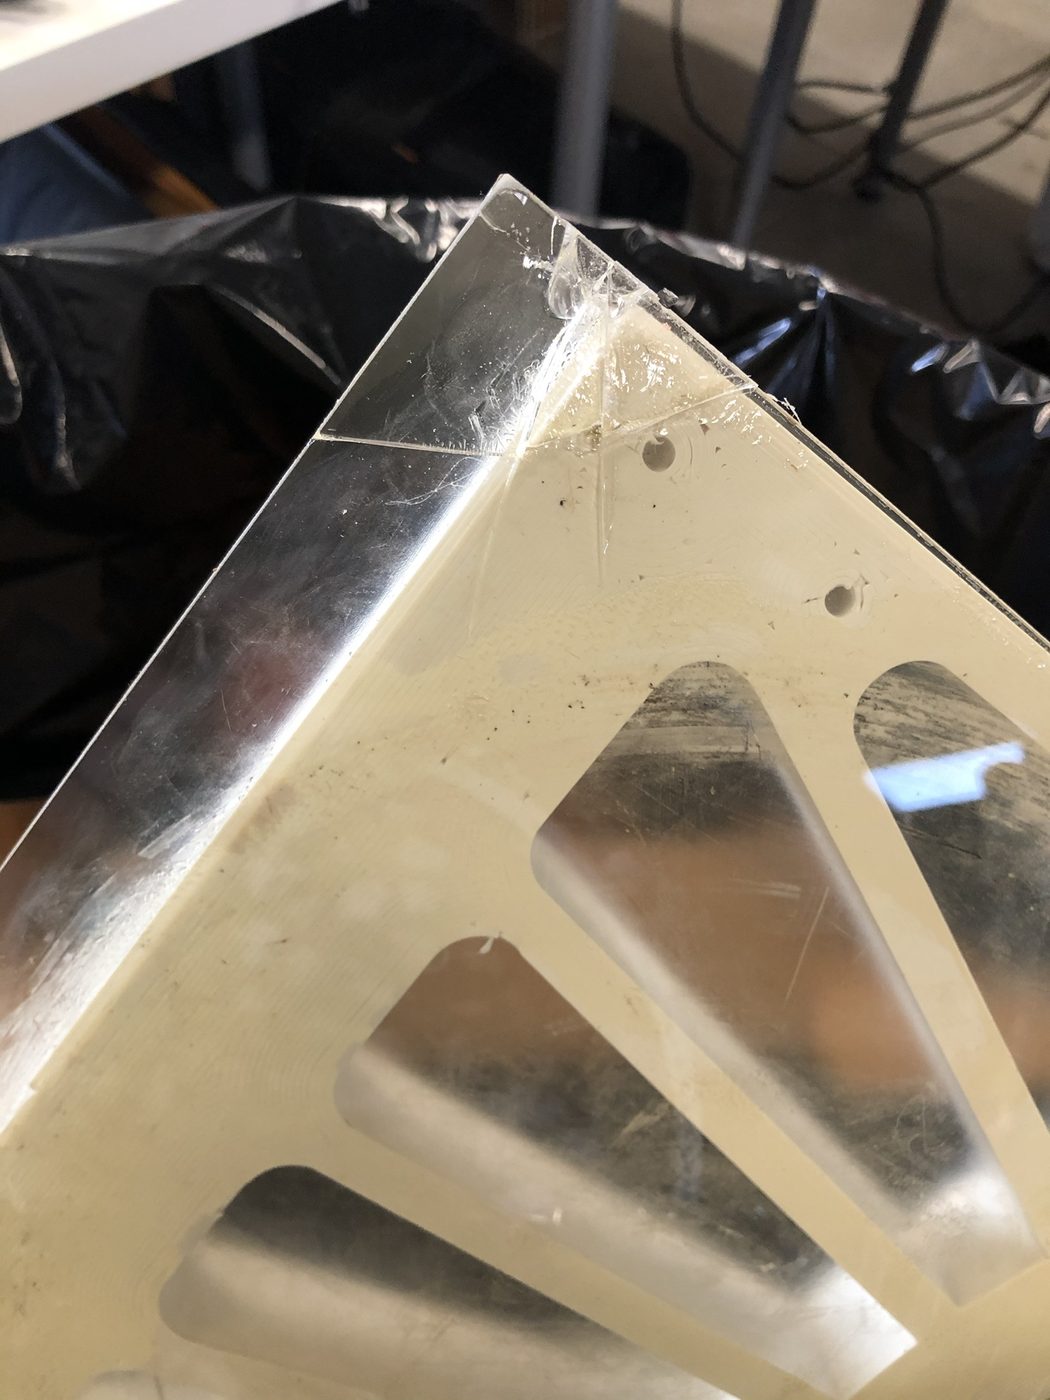
To be fair to the base, it wasn't the only culprit. Any big, flat ABS telescope part could do this. The base was just the flattest and the most stubborn.
Turn Up the Heat
A warm chamber helps ABS a lot, because the part cools more slowly and more evenly. So I built a dog house: a box of foil-faced foam board with a little window, sitting right over the printer.
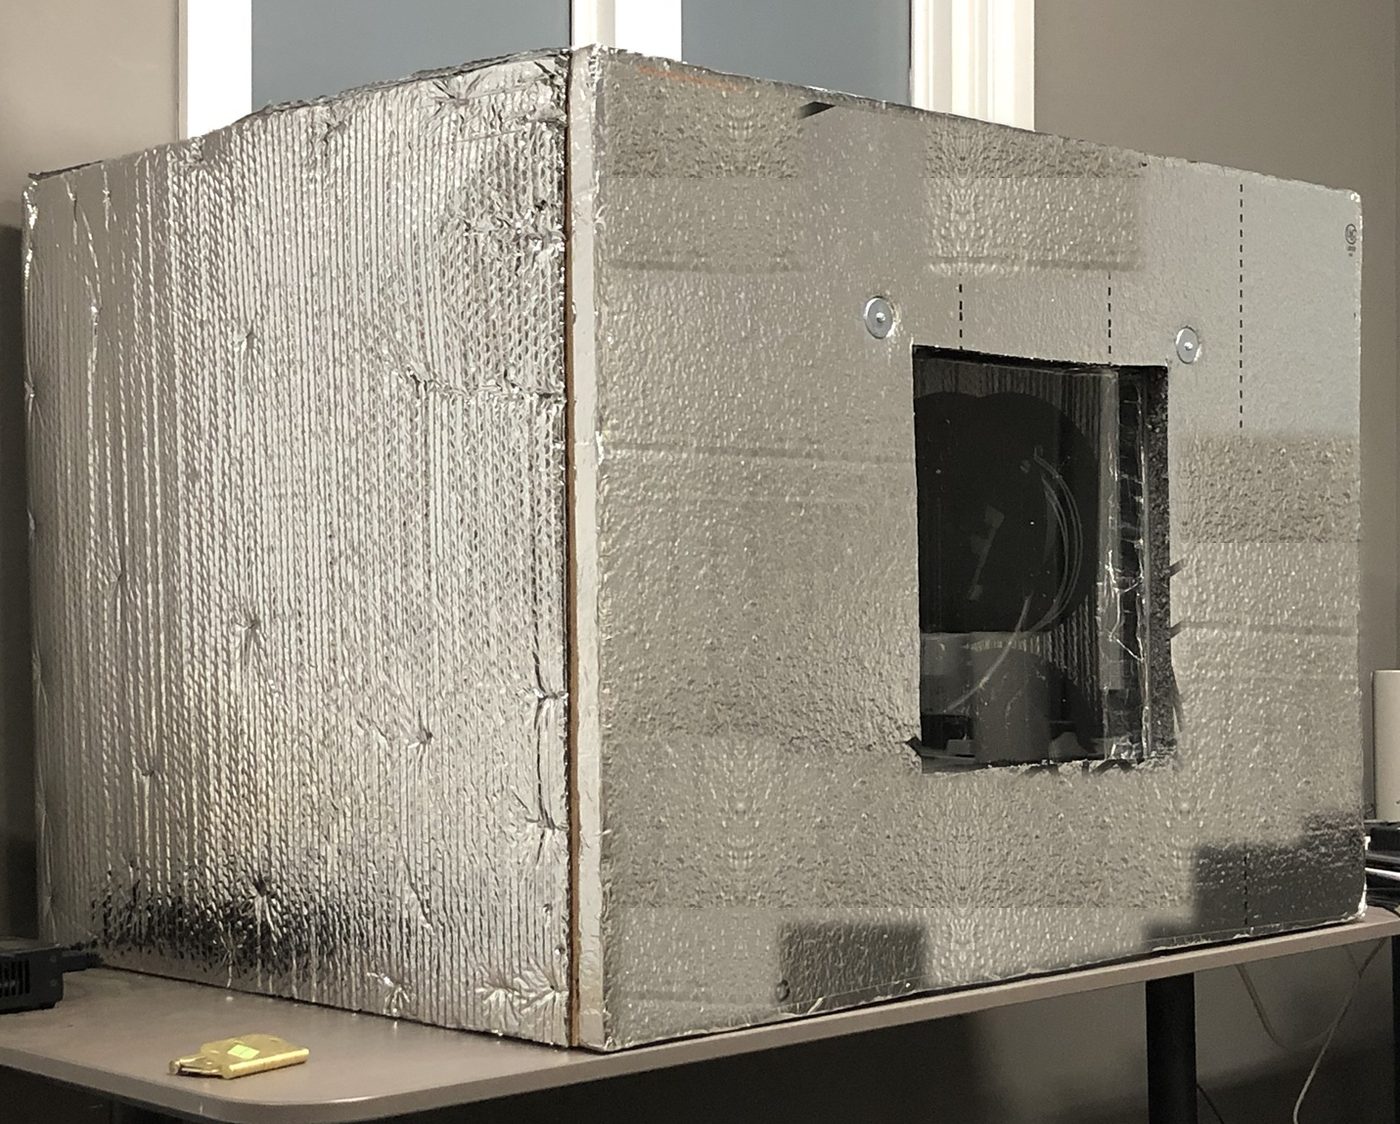
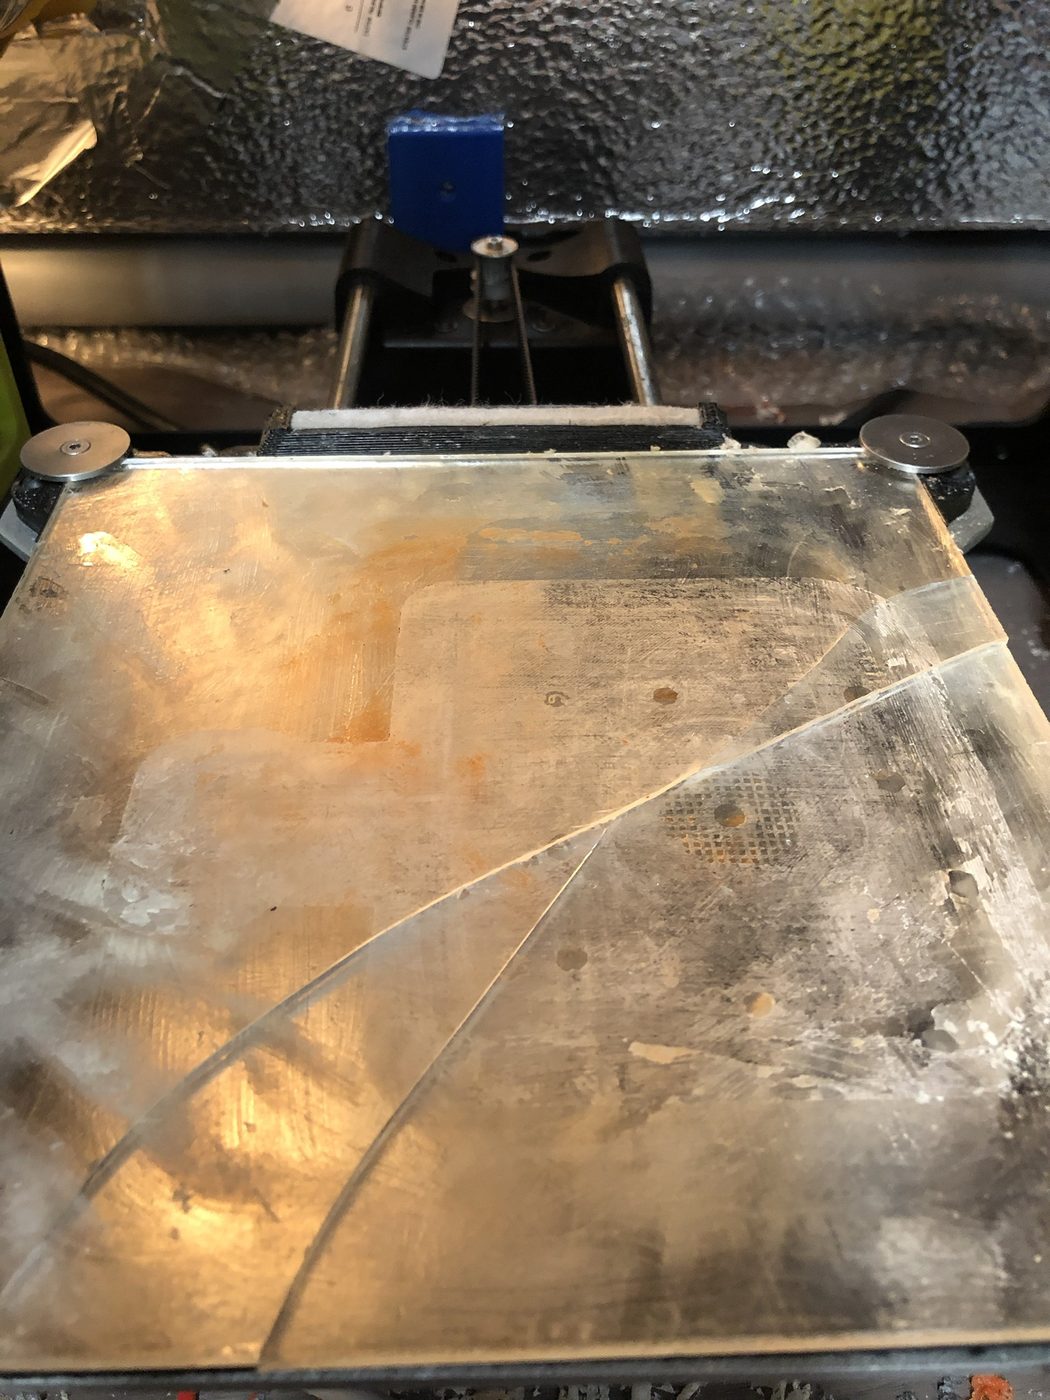
It helped. It didn't solve it. Over the years I tried just about everything, and even the newest printers didn't make the problem go away. The fix wasn't going to come from the printer. It had to come from the part.
Designing the Infill Ourselves
Most people let the slicer pick the infill. For the bases, I started drawing the infill right into the CAD model, so I could control exactly where the plastic goes.
The first try, on the original Skyward 150, was a grid of cone-shaped cups. The second, on the Skyward 150 Compact, was a grid of round cells.
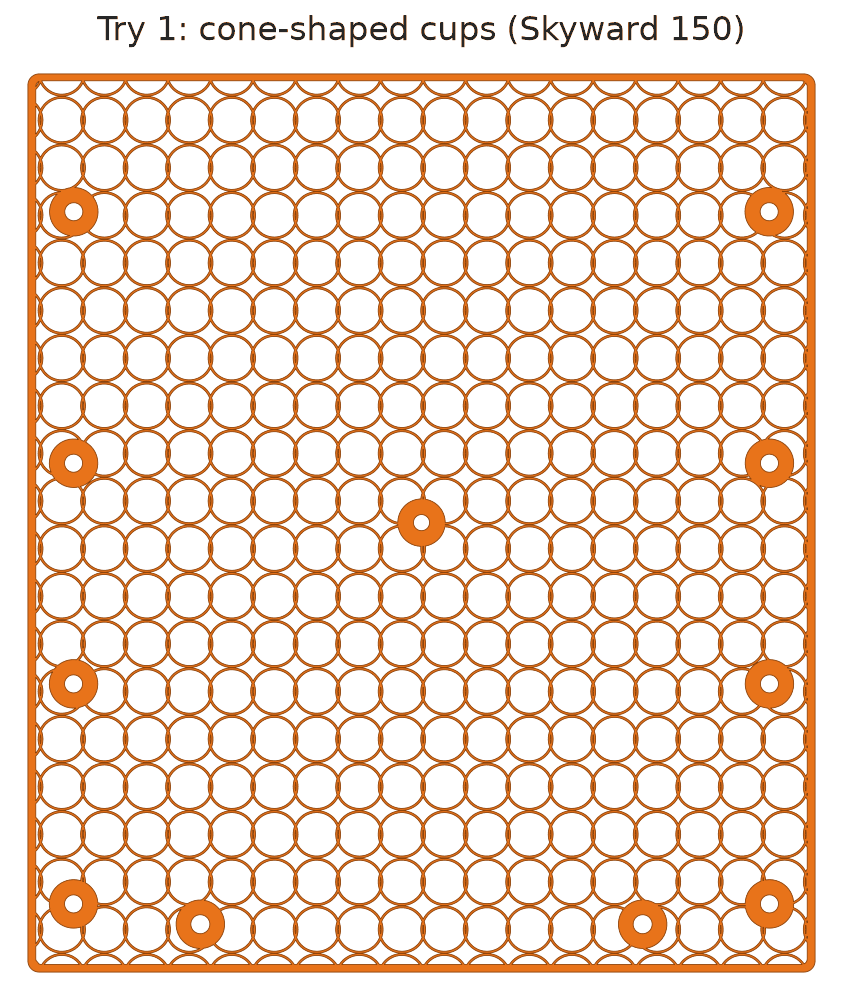
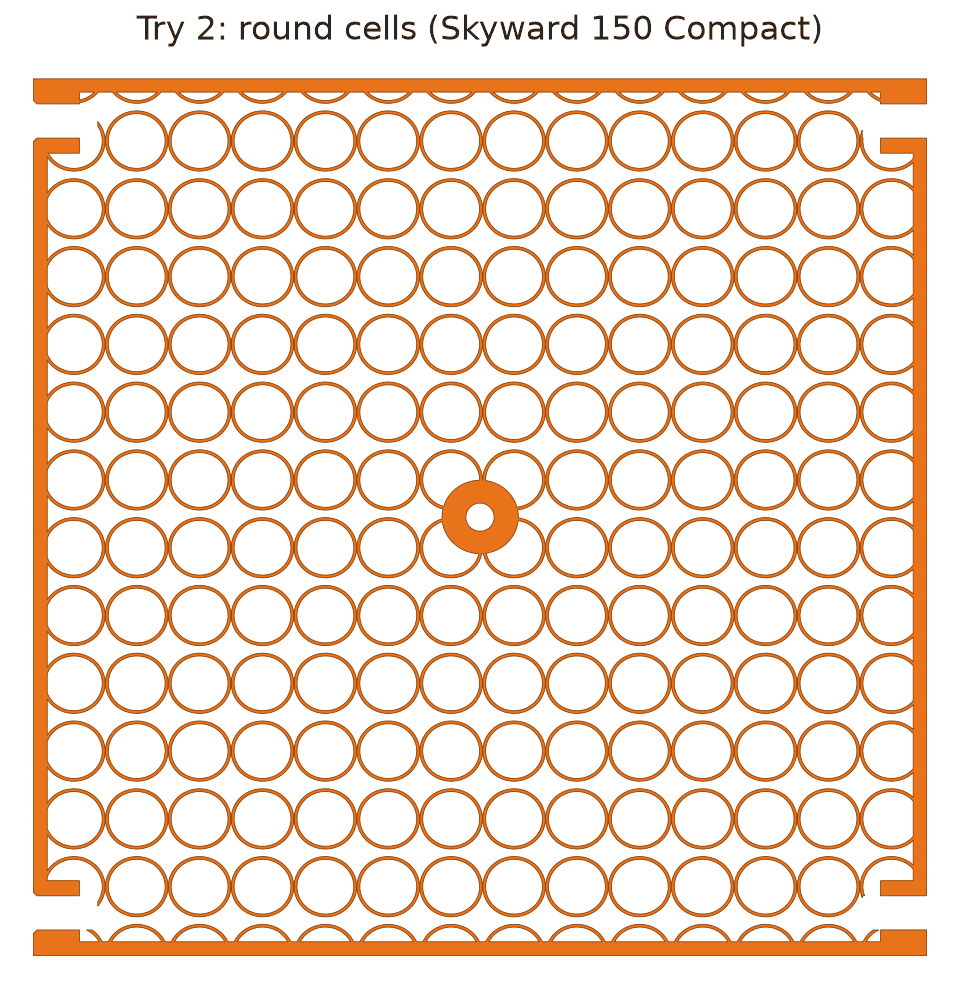
Closer, but not the fix.
Caught in the Web
The breakthrough came with the Skyward 200. I finally figured out what was really going on: long, connected runs of infill were acting like strings, all pulling on each other as they cooled. The longer the run, the harder the pull.
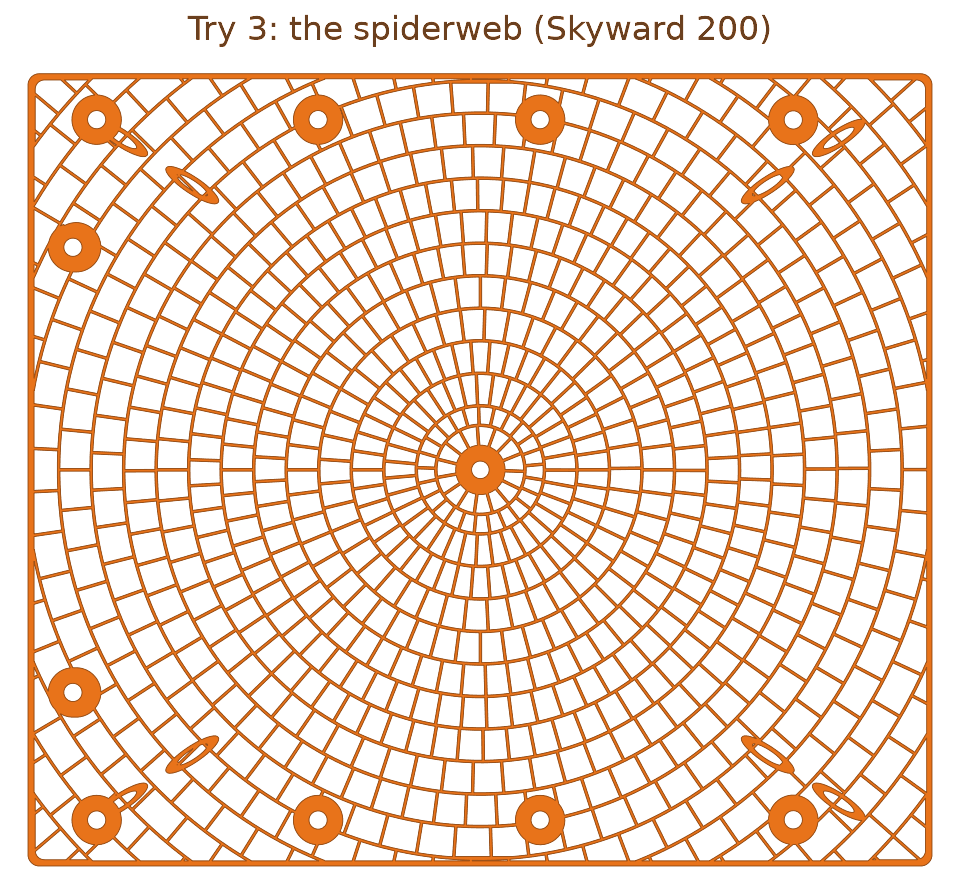
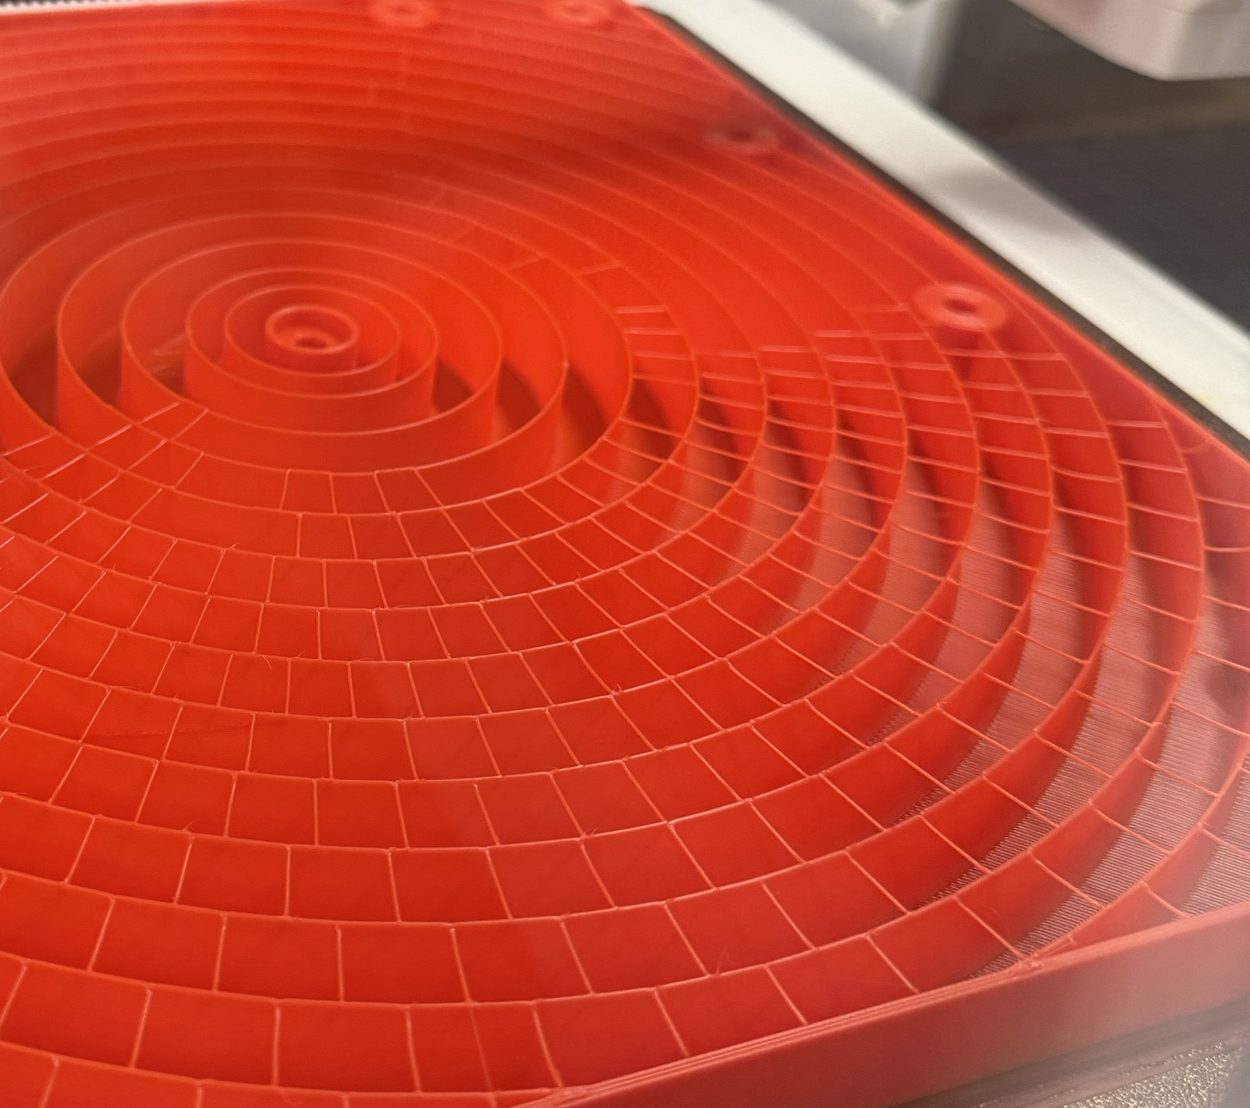
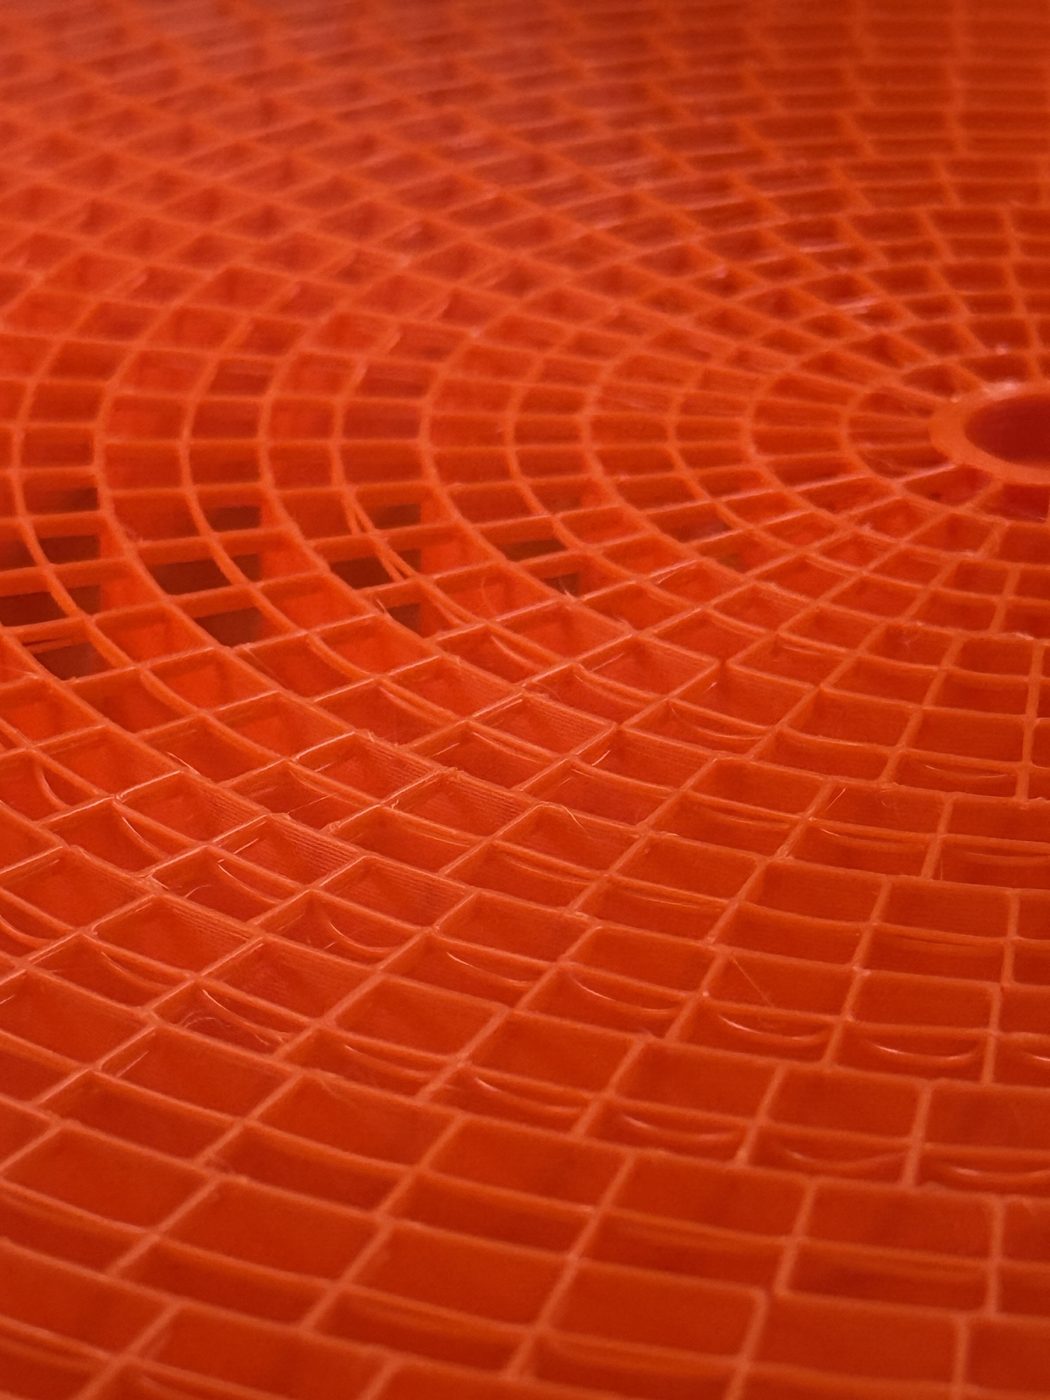
So I drew a spiderweb. Rings circle out from the centre pivot, joined by short spokes that are staggered from ring to ring, like bricks. No wall runs straight for long. And because the walls are curved, they can give a little as the plastic shrinks, instead of dragging the whole slab up at the corners.
And here's what that looks like in real life.
Where It Stands Now
The spiderweb bases just print now. Our Bambu H2 printers run them routinely, and the Vorons had no trouble with them either. We've made dozens of them in ABS, and no more glass beds have been harmed.
And once it's off the bed? Flat as a pancake.
If You're Fighting Warping Too
- More adhesion isn't always the answer. If the part can't lift, the stress goes somewhere else, like your bed.
- Heat helps, but it isn't a cure. A warm chamber slows things down. It doesn't take the stress away.
- Look at the shape of the infill. Long, straight, connected lines pull hard. Short, curved walls can flex.
Eight glass beds. Three infill designs. One spiderweb.
Got a big, flat part that won't stay flat? Let's talk about your project.